
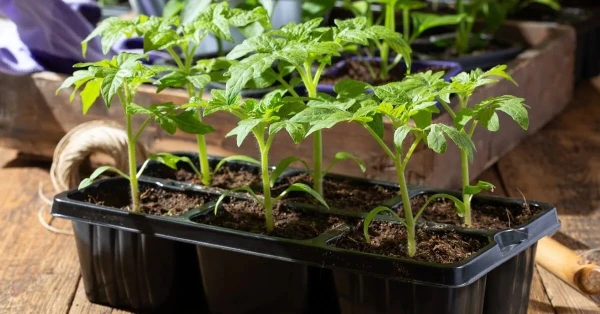
April is a crucial month for every gardener, as it is during this time that tomato seedlings experience stress after transplanting. To ensure that the future harvest delights with an abundance of strong and juicy fruits, it is extremely important to master all the nuances of care, as even the slightest mistake can jeopardize all efforts.
Main Principles of Successful Cultivation
After transplanting, tomatoes need a rest from any fertilizers, which should last at least 10–14 days. The primary goal of the first feeding is to stimulate the development of a strong root system, rather than the active growth of the stem. Ordinary iodine and milk will become your allies in creating strong seedlings that are resistant to various diseases. Remember that an excess of fertilizers and the use of cold water are the main threats to tender young plants.
Caution: Feeding After Transplanting
Often, gardeners make the mistake of trying to fertilize the plants immediately after transplanting. Experts warn: after transplanting, microcracks form on the delicate roots. The application of concentrated fertilizers during this period can lead to serious chemical burns. The plant needs about two weeks for full adaptation and the formation of new absorbing hairs. Moreover, fresh soil usually already contains enough nutrients for the initial stage of growth.
Secrets of Strong Roots: Folk Recipes
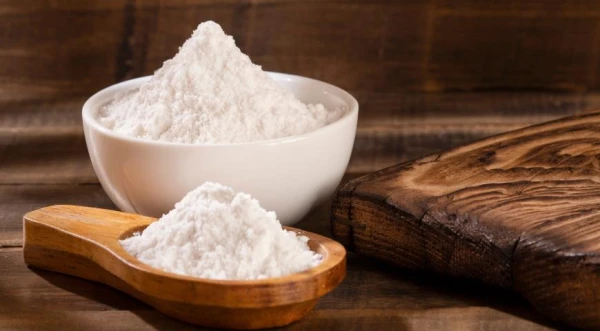
Once the seedlings have successfully taken root and new leaves appear, you can start feeding them. Experienced gardeners recommend favoring substances that actively stimulate the development of the root system. Wood ash, rich in potassium and phosphorus, is an excellent choice. To prepare the solution, dissolve one tablespoon of ash in one liter of warm water, let it steep for a day, and then water the plants at the root. Another effective remedy is yeast: 10 grams of dry yeast and two tablespoons of sugar per bucket of water will wonderfully activate root growth. However, be careful: this method is effective only in warm soil. When buying ready-made mixtures in the store, be sure to check that the phosphorus content exceeds the nitrogen content; otherwise, your seedlings risk becoming thin and weak "threads."
How to Achieve a Thick Stem and Strong Immunity
To ensure that the seedlings develop a powerful stem and are protected from late blight, use ordinary iodine. The recipe for preparing the solution is extremely simple: add just one drop of iodine and half a glass of milk to three liters of water. Milk forms an invisible protective film on the surface of the leaves, while iodine helps to harden the plant and activates metabolic processes. Such spraying significantly increases the tomatoes' resistance to any weather changes.
Plants Speak: Learning to Understand Their Signals
Your plants can tell you about their needs; you just need to pay close attention. If the lower leaves start to yellow, it may indicate a lack of nitrogen or, conversely, excessive watering. A purple hue on the underside of the leaves signals that the seedlings are too cold and are having difficulty absorbing phosphorus. The appearance of white spots on the leaves is often a sign of sunburn or iron deficiency.
Main Mistakes to Avoid
To avoid harming the seedlings and achieve excellent results, categorically avoid three common mistakes. Never water young plants with cold water; the optimal option is to use water at room temperature or slightly warmer. Always remember that it is better to underfeed than to overdo it: dilute store-bought fertilizers to half the strength recommended in the instructions.
Be sure to provide the seedlings with enough light on the windowsill, as without it, even the best fertilizers cannot guarantee a quality harvest. Remember that in caring for young tomatoes, moderation always outweighs excess. Following these simple April rules will allow you to enjoy the unique taste of real homegrown tomatoes by summer.


Leave a comment